
However often more control points are generated than are actually needed. Their solution is to only subdivide the knots in the area of interest and to "replace" the original surface with this subdivided surface, called an overlay. In turn, an overlay may be further refined, allowing the user to create a hierarchy of refinements so that the surface can be edited at varying levels of detail.
The program was writtein in C, OpenGL and FLTK. The surfaces are drawn using the glNurbsSurface in OpenGL, with trimming to support the rendering of overlays.
1. Initial Surface
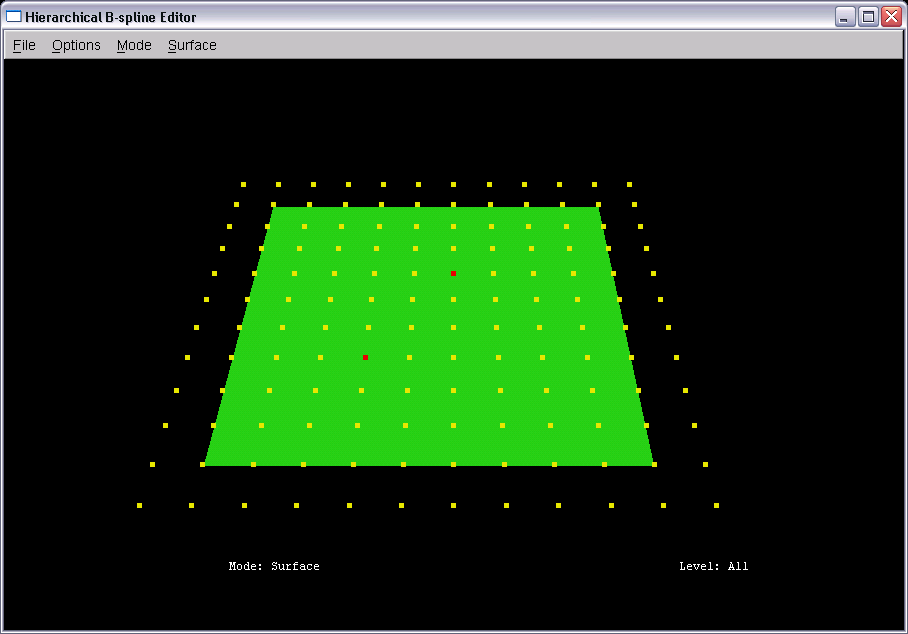
The surface is rendered as a bicubic B-spline surface, using uniform knot vectors. By default the editor creates a 7x7 surface
(7 rows of 7 control points) but can support any dimension, as long as it is larger than 7x7. Here is a surface of a 12x12 surface:
2. Surface Editing - Control Points
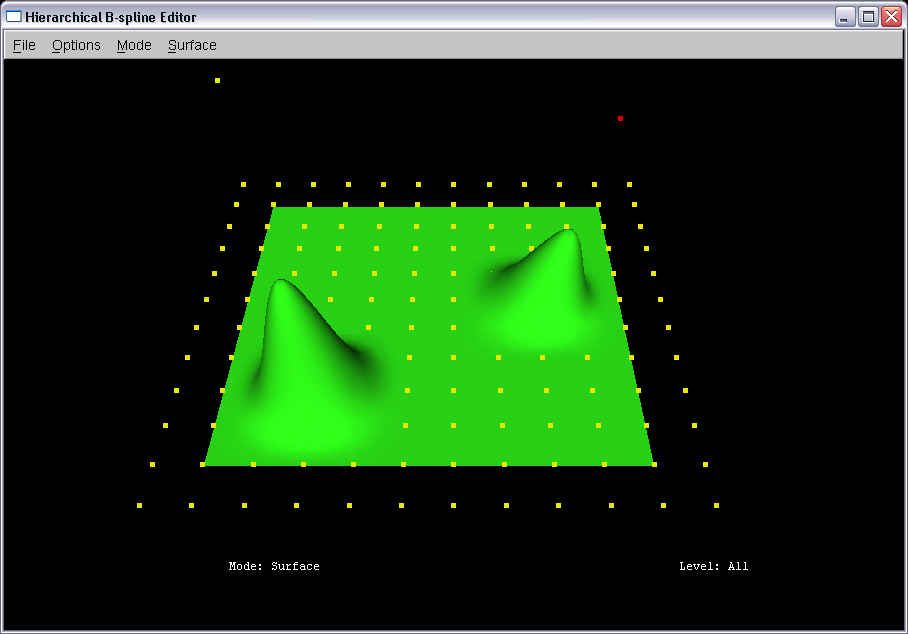
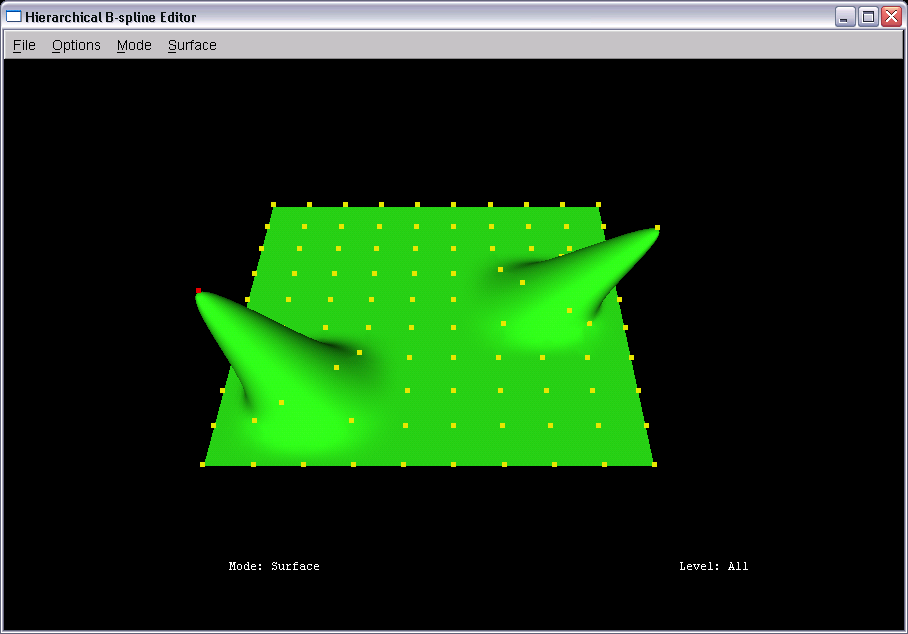
In Surface Mode, control points can be selected with the left mouse-button (selected points appear in red).
Dragging the middle mouse-button or right mouse-button will move the selected control point:
3. Surface Editing - Edit Points
Editing a surface with control points can be difficult since it is not always clear which control point should be
moved to change a particular point on the surface. A more natural way to edit the surface is through edit points,
which can be displayed using the Option menu. Dragging a selected edit point will move that point on the surface.
4. Local Refinement
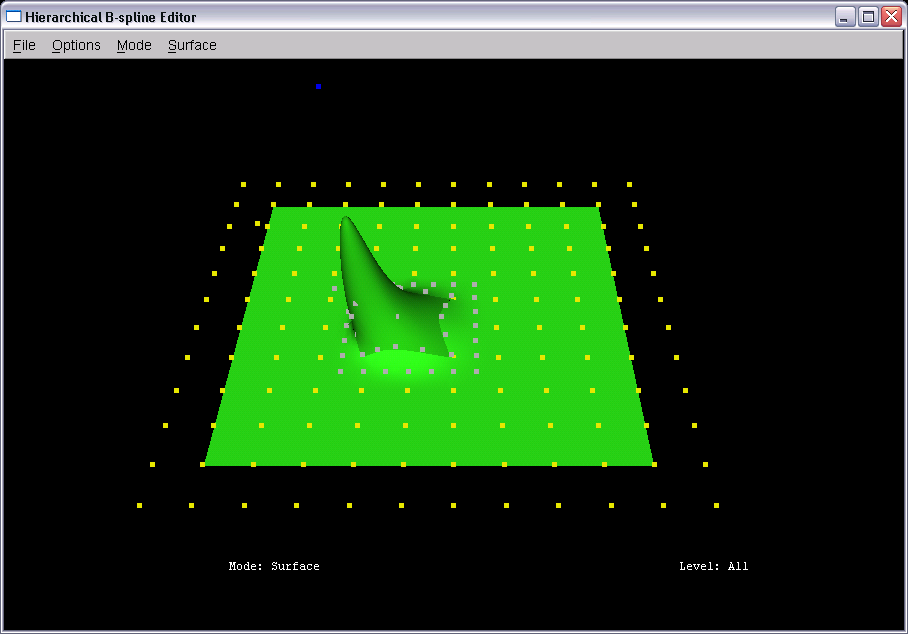
This is the amount of area that is affected by the control point in red:

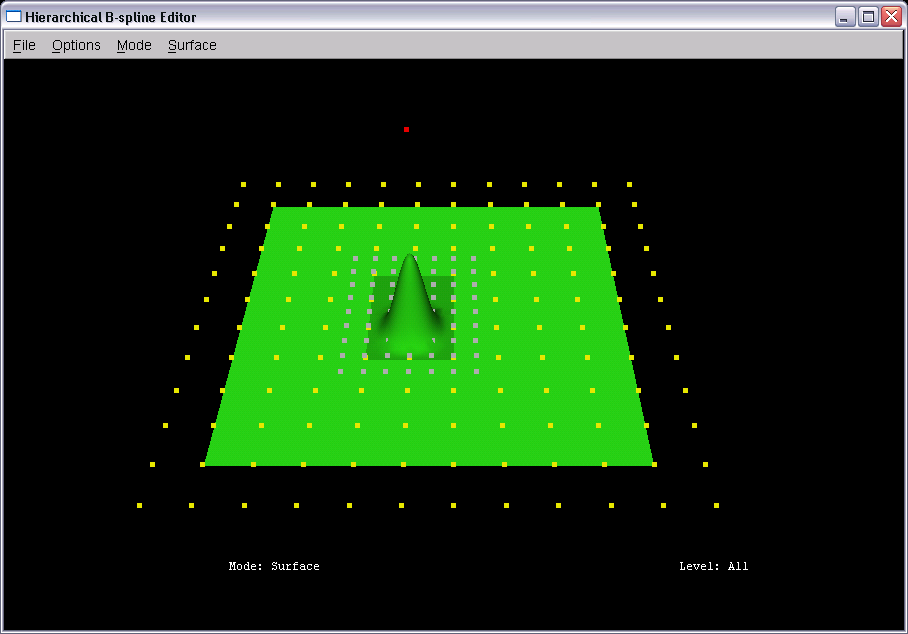
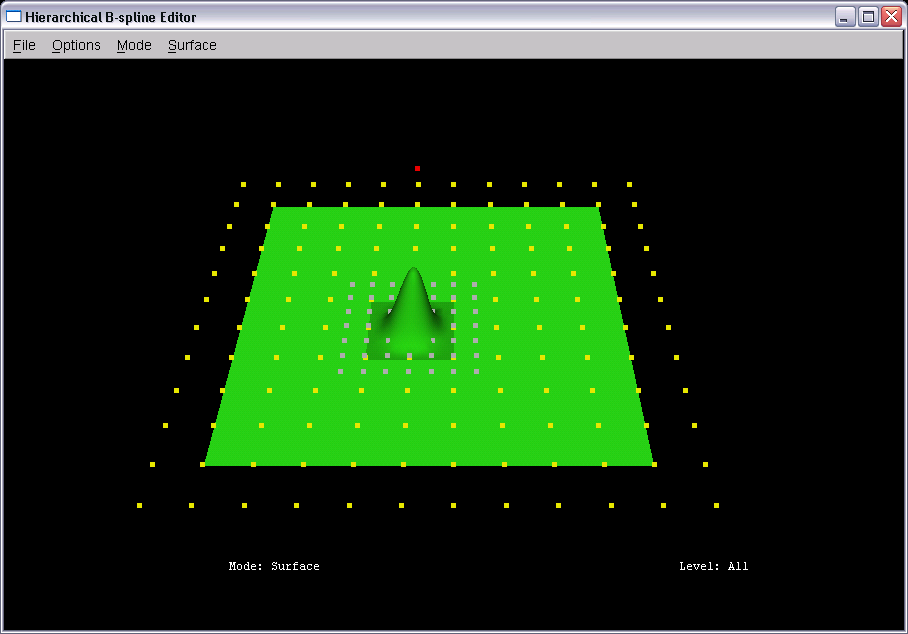
To reduce the surface area affected by this control point, we can create a local refinement. Refinement areas can be specified by selecting two control (or edit) points. The only restrictions on refinement areas is that 1) the refinement points cannot be on the edge of a surface, and 2) they not be aligned, and 3) the refinement points are not adjacent to each other.
The refinement process will subdivide the knot intervals covered by the refinement area in half. Points that cannot be moved to maintain continuity with the parent surface appear in grey.

The amount of area influenced by the control points in this refinement patch, has been reduced i.e. localized. Trimming is used to replace the parent area with this new refinement area.
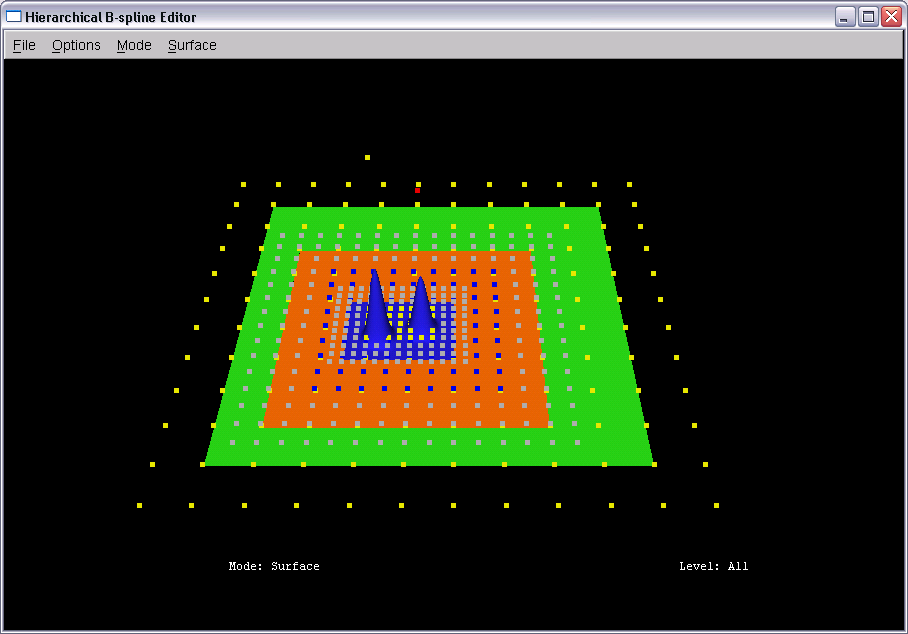
5. Hierarchical Refinement
Refinements can be further refined, creating a hierarchy of refinements that further reduces the
amount of area a control point affects:
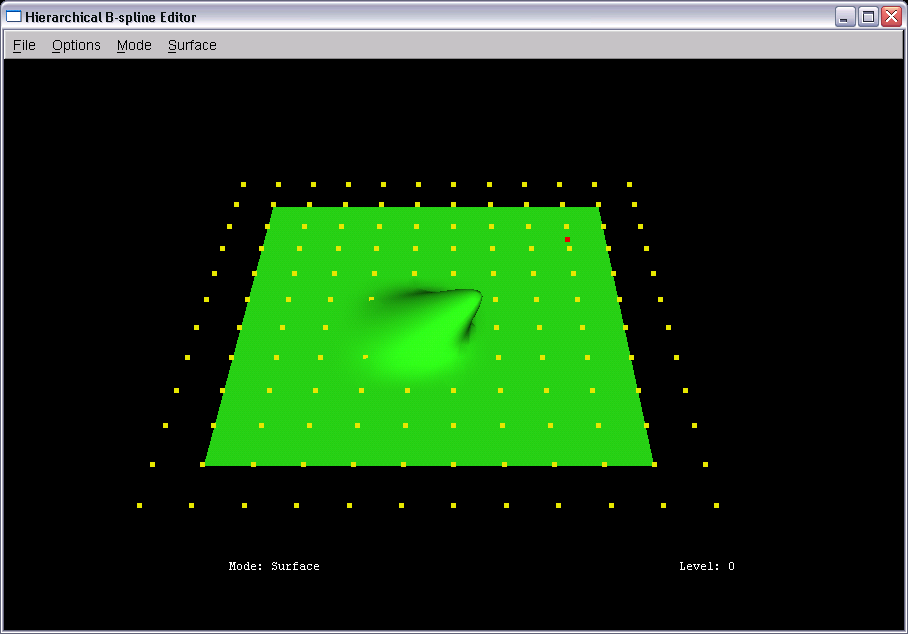
6. Offset Referencing
Offset referencing allows refinements to "move" with their parent surfaces. Control points
are stored using a reference and offset. The reference is a frame dervied from the parent
control points and partial derivatives at that pont. The offset are co-ordinates relative to
this frame. As a result when the parent surface changes, the reference changes and so does the
relative offset. The following refinement change is stored in the offset portion of the
refinement's control points:
A change is made to the parent surface:
And here is the resulting change to the refinement. Notice how the refinement change has moved with the parent:
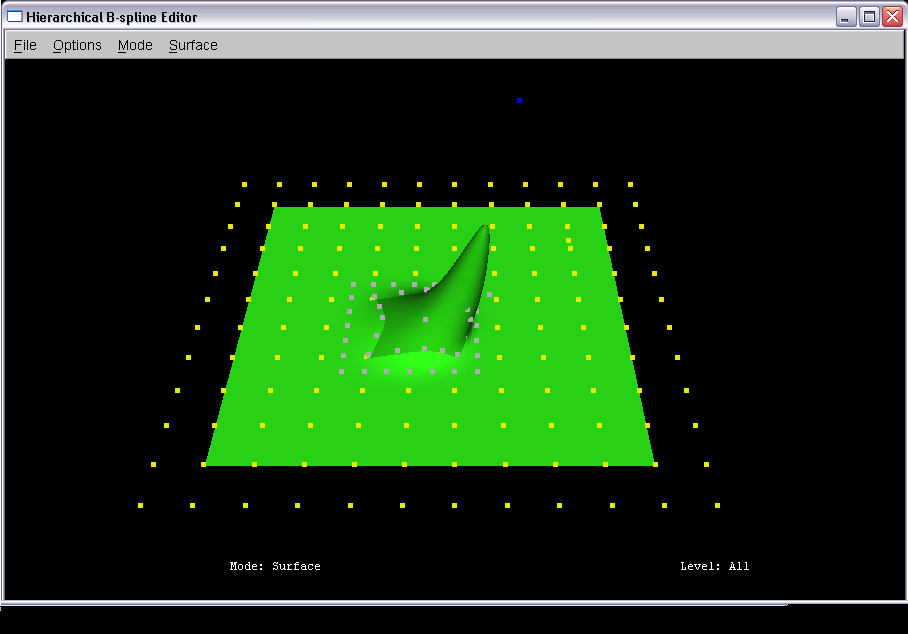
Another change is made to the parent:

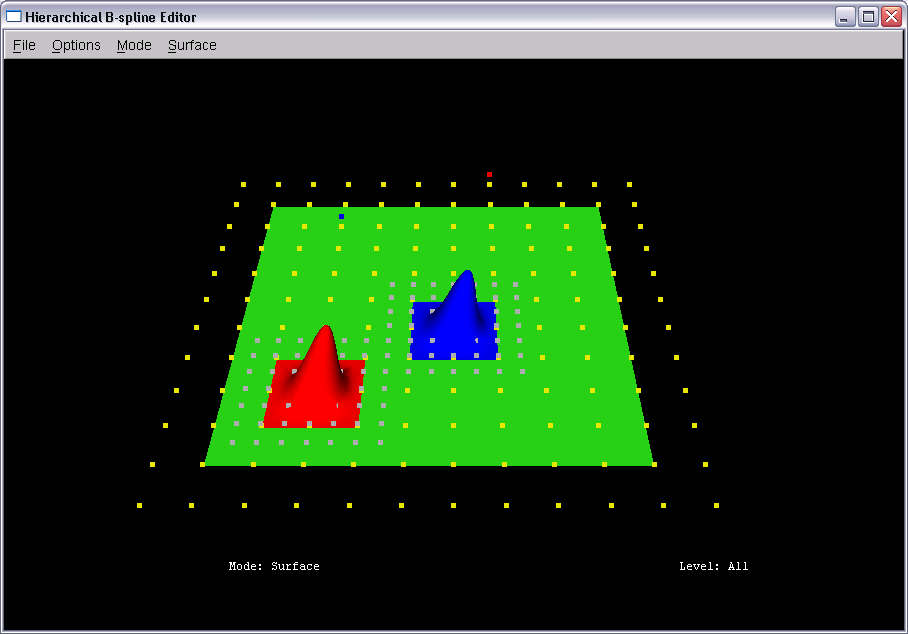
7. Merging Refinements
If a refinement is created that intersects with 2 existing refinements at the
same level, a refinement is created that encompasses all intersections:


8. UI Features